
With wireless tuning of the NanoEFI system being confirmed, attention then focused on finding an appropriate small and cost efficient WiFi module.
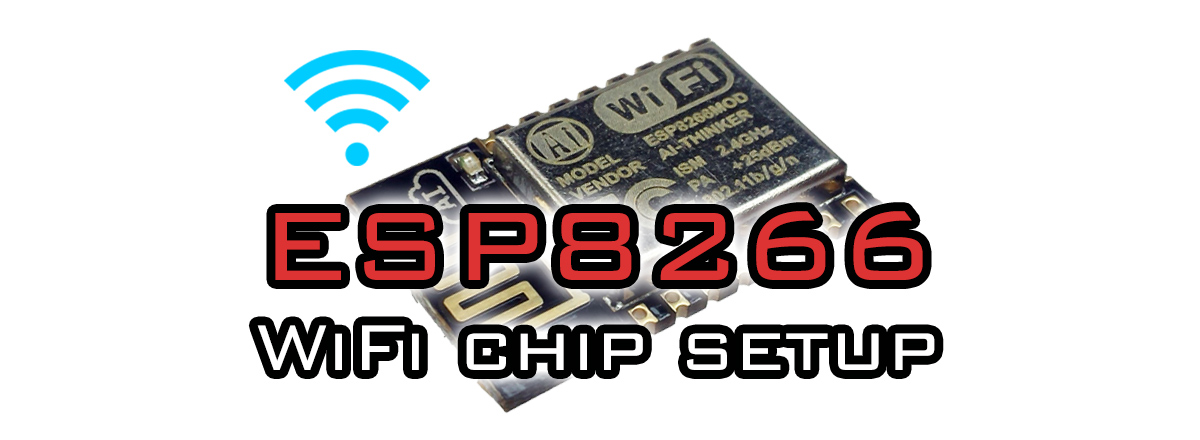
Introducing the ESP8266 WiFi Chip.
Going from not knowing this device existed last week, to the point of having a working HTTP server pushing data has been a hassle. Information for integration and use of the ESP8266 is all over the web, but between all of the different hardware versions (and software versions), it’s a challenge piecing together relevant information and distilling it into a working understanding. Not to mention the different 3rd-party firmware platforms being developed, making picking a direction to go in difficult at first.
Kinda makes you wish someone would put together an article to let you know exactly what to expect, right?
The best part? The price!
Sure, a CC3000 module would work, but it’s relatively expensive and this project is called “Nano” – in part – because this project is all about reducing the cost of EFI. What makes this module really usable is how much it costs. We’re talking $3.39 SHIPPED per piece, including I/O adapter and headers!

My PayPal account was promptly hit for $16.95 as I quickly grabbed 5 from the most solid looking China-based seller on eBay. Plus one unit from a USA distributor to get the ball rolling within days.
Materials needed to get started
Assuming you have none of the materials already:
- ESP8266-12 (with I/O adapter)
- Bi-directional 5v / 3.3v line level shifter
- Quality FTDI USB Serial Cable (5v, not 3.3v)
- MB-102 Breadboard kit, 830 tie points (Get a quality board, thank me later)
- 5v / 3.3v Breadboard power supply
- USB cable (A-to-A) for the power supply
(or a regular wall transformer between 5v to 9v DC – 1000ma) - Arduino IDE
Download these files
Your ESP8266 may come from the supplier flashed with NodeMCU or an older version of the AT firmware. We want to use the AT version 0.9.5.2 (or above). Using the tool can be tricky, if you need help leave a comment below.
Where to buy
- Upgrade Industries USA Supplier (VA) – Arrived in 2 days
- ESP8266-12-Q
- 5v / 3.3v Power Supply for MB-102
- SparkFun Logic Level Converter – Bi-Directional
- FTDI Cable (5v)
NanoEFI isn’t affiliated with any of these suppliers. But these are the items being used currently in this project, and are therefor recommended.
AT Commands
The most relevant commands are covered here. For a more complete list, check out room15.
Basic setup commands
Confirm module working and good serial link
AT
Reset the module
AT+RST
Get firmware version
AT+GMR
Set the baudrate
AT+IPR=9600
WiFi Layer Commands
Get a list of wireless Access Points in range
AT+CWLAP?
Connected to an Access Point:
AT+CWJAP=”SSID”,”PASS_PHRASE”
If it’s a connection with no security, leave the passphrase parameter empty, but leave the double quotes.
Make sure DHCP is turned on (or off):
AT+CWDHCP=1
or set to 0 if you want to disable DHCP on the ESP8266.
Report (or set) the current IP address:
AT+CIPSTA?
To set the IP address:
AT+CIPSTA=”IP_THAT_YOU_WANT”
Make sure single connection mode is on
AT+CIPMUX=0
TCPIP Layer Commands
Connect to the web (or a network machine)
AT+CIPSTART=”TCP”,”IP_ADDRESS_OR_DOMAIN”,80
AT+CIPSEND=4
AT+CIPSTART can be a bit confusing.
Examples of usage
Initial setup
- AT+RST
- AT+CWMODE=1
- AT+CWDHCP=2, 1
- AT+CWJAP=”SSID”,”PASSPHRASE”
(Add in the appropriate credentials in place of SSID and PASSPHRASE) - AT+CWJAP?
Step 1 resets the device.
Step 2 sets the device mode to “1”, bringing the module into “station mode”. This just means that the ESP8266 will act as a client only. The mode can also be 2, “SoftAP” mode which functions similar to a hotspot. And 3 which will enable both at the same time (but has some issues). Leave it on 1.
Step 3 makes sure DHCP is turned on.
Step 4 connects to the access point you specify, which will be remembered and automatically connected to each time the device is powered on.
Step 5 (AT+CWJAP?) will repeat the access point you’ve connected to, confirming the connection.
Create an HTTP Server
- AT+RST
- AT+CIPSERVER=1,80
- AT+CIPSTO=300
- AT+CIPSTA?
- AT+CIPSEND=10
- Type in “1234567890” and hit enter
- AT+CIPCLOSE
Step 2 creates sets the server to enable (first parameter = 1) and on port 80
Step 3 sets the request timeout to 5 minutes, so you’ll have plenty of time to type out request headers.
Step 4 reports the IP address of our device/server. Open a browser on a computer on the same network and type in the IP address reported in this step. The browser should show “connecting” or a similar message, and you should see a “GET” request appear in the serial monitor.
Step 5 communicates that we are about to send 10 chars of data
Step 6 sends our data.
Step 7 you should now see “123457890” appear in the browser window.
Opening a UDP port and communicating with a with a local computer
If you have happen to a server setup already on your local network that you can set to transmit data over UDP, it can be an easy way to get some quick gratification. Have the server send data to the IP address reported in the last step, on whichever port of your choosing.
AT+CIPSTART=”UDP”,”192.168.1.100″,8010,8010
The first parameter is the connection type, it can be “UDP” or “TCP”. Second parameter is the IP address (double quotes required).
Good! You’re connected to your local network and even internet enabled at this point!
2 thoughts on “The ESP8266-12 WiFi module”